
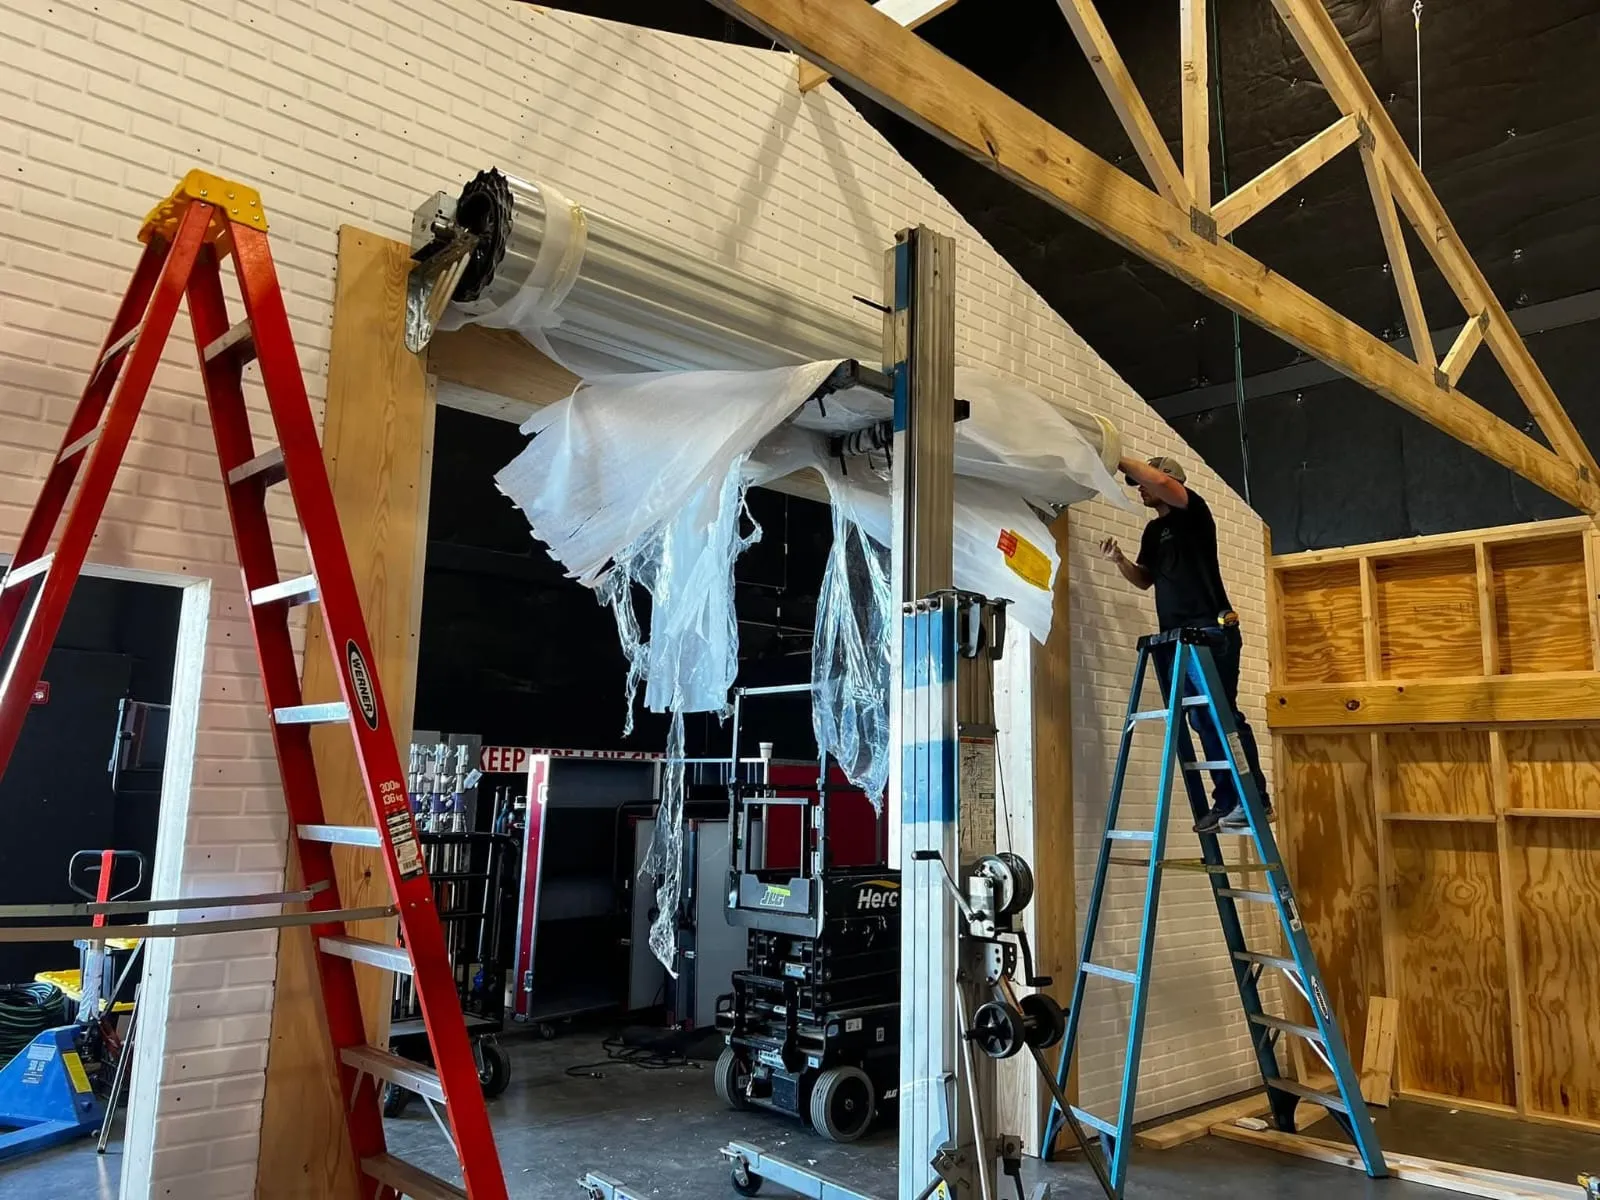
A professional garage door replacement follows four main stages: evaluation and measurement, removal of the old door, installation of the new system, and integration of the opener, followed by a final safety test. Each of these stages depends on the one before it, so a professional garage door installation moves through them in a fixed order.
Knowing what to expect at each stage helps homeowners feel confident about what’s happening in their garage throughout the entire replacement day. A methodical process like this one also protects the new door’s long-term performance far better than a rushed job ever could.
Key Takeaways
- Accurate measurements at the start prevent costly mismatches later in the process
- Releasing spring tension safely is one of the most dangerous steps in removal
- New door sections get stacked and fastened one at a time, not installed all at once
- Spring tension must match manufacturer specifications to properly counterbalance the door
- A final safety check confirms balance, force settings, and sensor function before the job is done
Step-by-Step Process of Garage Door Replacement
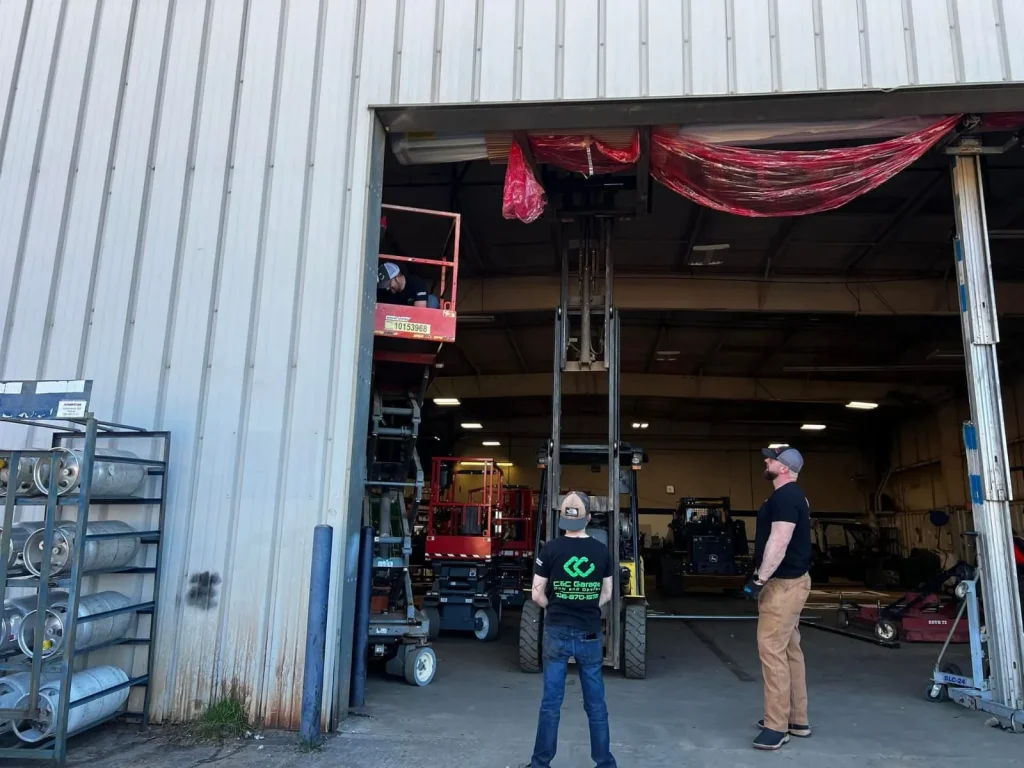
A professional replacement follows a consistent sequence, with each stage checked before the crew proceeds to the next.
Stage | What Happens | Approx. Time |
Evaluation and Measurement | Inspecting clearances and recording exact dimensions | 30 to 45 minutes |
Removal of the Existing Door | Disconnecting power, releasing spring tension, dismantling the old door | 1 to 2 hours |
Installing the New Door System | Aligning panels, mounting tracks, setting spring tension | 2 to 4 hours |
Opener Integration and Final Testing | Mounting the opener, checking balance, calibrating safety settings | 1 to 2 hours |
The sections below break down each of these stages in more detail, starting with the evaluation that sets everything else in motion.
Step 1: Evaluation and Measurement
A professional garage door replacement starts with a thorough on-site assessment before any old parts are removed from the frame.
The evaluation stage typically includes the following:
- Inspecting the structural framing, headroom, and side room for clearance issues
- Checking backroom depth to confirm the new door and hardware will fit
- Recording exact dimensions of the rough opening for accurate ordering
- Selecting matching door sections and counterbalance weights based on those measurements
- Noting any existing damage that could affect the new installation
To understand what this evaluation stage often reveals about a door that needs replacing, read our guide on When to Replace Garage Door Instead of Repairing It, which covers the signs that indicate replacement.
Step 2: Removal of the Existing Door
Safely removing the old door takes priority over speed, since several steps at this stage carry real risk if rushed.
Removal typically follows these steps:
- Disconnecting power from the automatic garage door opener before any other work begins
- Clamping the tracks to lock the old door securely in place
- Carefully unwinding or discharging high-tension torsion or extension springs
- Unscrewing and removing old panels, tracks, and brackets piece by piece
- Clearing the workspace completely before the new door arrives on-site
To see how a door’s age and wear typically affect how straightforward this removal stage is, read our guide on How Long Do Garage Doors Typically Last, which breaks down lifespan by material and climate in detail.
Step 3: Installing the New Door System
Installing the new door follows a specific sequence, since each section and component depends on the one before it.
Installation typically includes the following steps:
- Placing the first bottom section with weatherstripping and leveling it completely
- Stacking subsequent sections while fastening hinges and rollers into position
- Bolting vertical and horizontal track curves and anchoring them to the frame
- Installing the torsion shaft or extension springs to the correct tension
- Winding springs to exact manufacturer specifications to counterbalance the door’s weight
To weigh the material and design choices that shape this installation stage, read our guide on What to Consider When Replacing a Garage Door, which covers each of these factors in greater depth.
Step 4: Opener Integration and Final Testing
The final stage connects the opener and confirms everything works safely before the crew calls the job complete.
This stage typically covers the following:
- Aligning and mounting the opener motor, rail, and attachment arm
- Connecting the attachment arm securely to the top door panel
- Disengaging the motor to test manual lift balance by hand
- Confirming the door stays in place halfway without drifting on its own
- Testing travel limits, force settings, and the auto-reverse safety sensors
A garage door opener installation that passes every check at this final stage is ready to provide years of smooth, reliable, everyday performance.
What to Expect on Replacement Day
Knowing the general flow of replacement day helps homeowners plan their schedule and know what questions to ask along the way.
Homeowners can expect the following on a typical replacement day:
- A crew arriving with the new door, hardware, and tools already on-site
- Most standard replacements completing within a single day of work
- A final walkthrough explaining the new opener, remote, and safety features
- Cleanup of all old materials and packaging before the crew leaves
- A chance to ask questions about maintenance before the job is considered done
Knowing what happens at each stage removes the guesswork, and scheduling routine garage door maintenance afterward keeps the new door performing well.
Trust the Process Behind Every Replacement
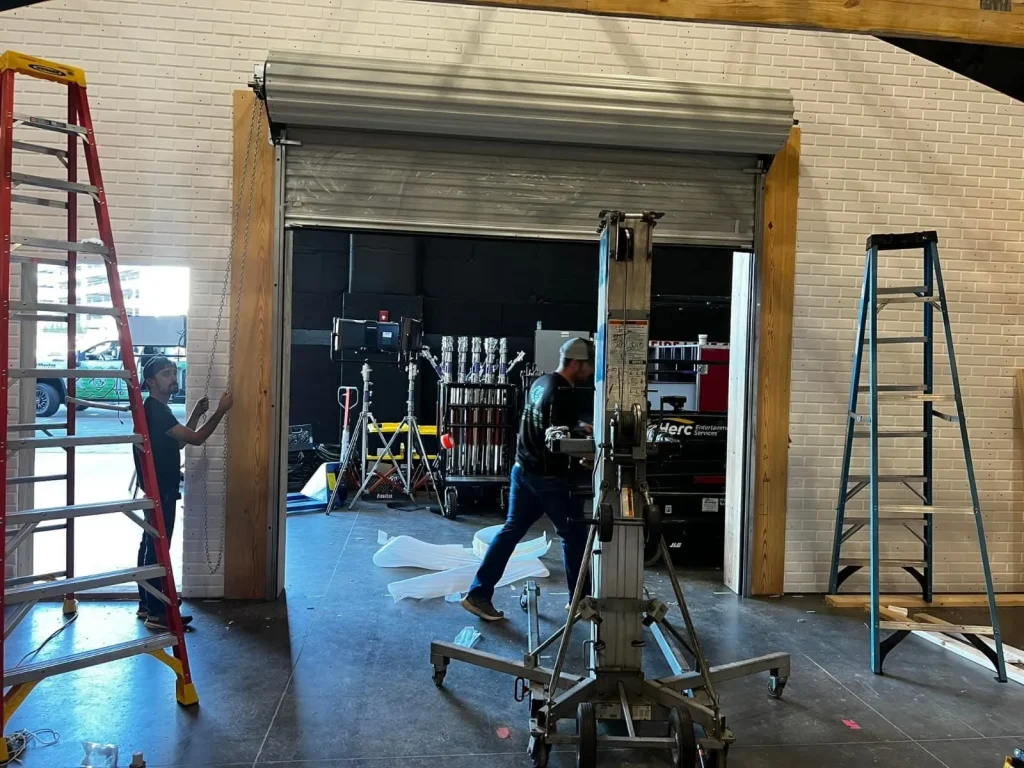
Understanding what happens during a professional replacement helps homeowners see the real value in each individual stage, not just the finished door sitting in the frame. A rushed or incomplete job at any single stage can shorten the new door’s expected lifespan or introduce safety issues that surface later.
C&C Garage Door and Opener LLC brings this same careful process to every replacement for homeowners throughout Jefferson, Georgia, from the first measurement to the final safety check. Contact us or give us a call today, and let our team walk through what a professional replacement looks like for your home.